How to calibrate a CO2 sensor
CO2 sensors are known to suffer from drift over time. To combat sensor drift, Crodeon uses self-calibrating sensor technology so you don’t have to re-calibrate your CO2 sensor manually. In this blogpost we investigate the auto-calibration mechanism of the Crodeon CO2 sensor.
How does the auto-calibration algorithm work?
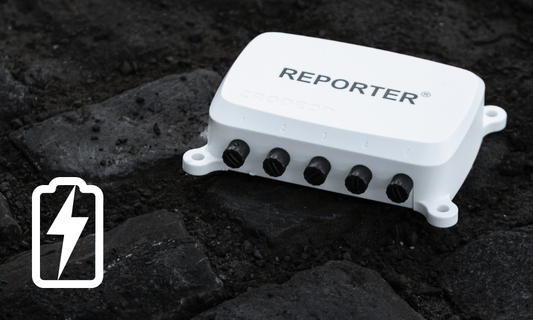
Our customers should save time using the Reporter. That’s why we make sure that our sensors are plug & play. We also don’t want customers to worry about any kind of calibration. Our CO2 sensor takes care of this.
The Crodeon CO2 sensor is based on the SCD30 sensor module from Sensirion AG. This is a self-calibrating dual-channel NDIR sensor that requires no manual maintenance by the user. This means the CO2 sensor calibrates itself to the correct values.
When the sensor is operating, it regularly keeps track of the lowest value over a certain period of time. This is when no people are present and the amount of CO2 in the air is comparable to the outside air. When you starting measuring for the first time, it is important to let the sensor auto-calibrate itself.
A test in a real-life environment
We tested this for five new CO2 Sensors in an office environment. As you can see in the graph below, you have five sensors measuring different values during the first six days that they were active. On day seven, you see that the auto-calibration system of every sensor sets in.

Over a period of seven days, the sensor adjusts the zero point (400 ppm) to the lowest measured value. The sensor takes this as 400 ppm CO2, which is considered a normal value for the outside air. Note that we pre-calibrate our CO2 sensors before shipping them, so our customer gets to see the calibrated values from day one.
Day and night cycle
This automated proces makes the device smarter and it will be better able to indicate when it is necessary to ventilate. Going back to our office case, the data shows that on February 11th we should have ventilated more. During the night time the sensors were again measuring close to the 400 ppm as describe above.
A potential problem that might occur as a result of this algorithm is incorrect calibration. Make sure the sensor is seeing fresh air of 400ppm regularly. We wrote about this in another blogpost to explain why a CO2 sensor measures below 400ppm.
Using the data
To avoid a high concentration of CO2 in the office, it is recommended to set a threshold of 900 ppm on the Crodeon Dashboard. When the sensor readings exceed this value, the office manager gets a notification on his phone. Using the Crodeon Dashboard he has a live view of the CO2 concentration in every room. The measurement interval can be configured anywhere between 30 seconds and 2 hours.
Note that self-calibration is not possible for every situation. For example when you’re monitoring CO2 in a chicken shed, where CO2 concentrations are constantly at 2000 ppm. At Crodeon we cover this use case by turning off the auto-calibration algorithm. The sensor then calibrates itself using the dual-channel measuring technique. Contact us for more information about this.
Start measuring today
Are you thinking about measuring the air quality in your office or farm? Want to view some real-time data? Visit our webshop for an overview of our sensors or create your free account on the Crodeon Dashboard for a live demo. Get in touch with Crodeon for questions about our products, distribution or partnerships.